

You have two ways to achieve your goal:
-
Take the fast route and use our CMS Kit. With the help of the CLI, you can set up everything you need in just 5 minutes. This includes creating a Storyblok account, deploying to Vercel, enabling live preview and revalidation, setting up SEO with sitemaps, and even providing premade components to get you started.
-
Follow this step-by-step guide with me. I will walk you through the basics, including setting up a Storyblok account, creating a Next.js 15 app router project, connecting Storyblok with Next.js 15, enabling live preview and deploying to Vercel.
The CMS Kit is akin to T3 for Next.js but tailored for the headless CMS ecosystem. It’s the best way to bootstrap your project, leveraging years of experience and best practices.
Let’s get started!
Setting Up Storyblok
First, you need to create a Storyblok account. Go to Storyblok and sign up for a free account. Once you have an account, you can create a new community (free) space.
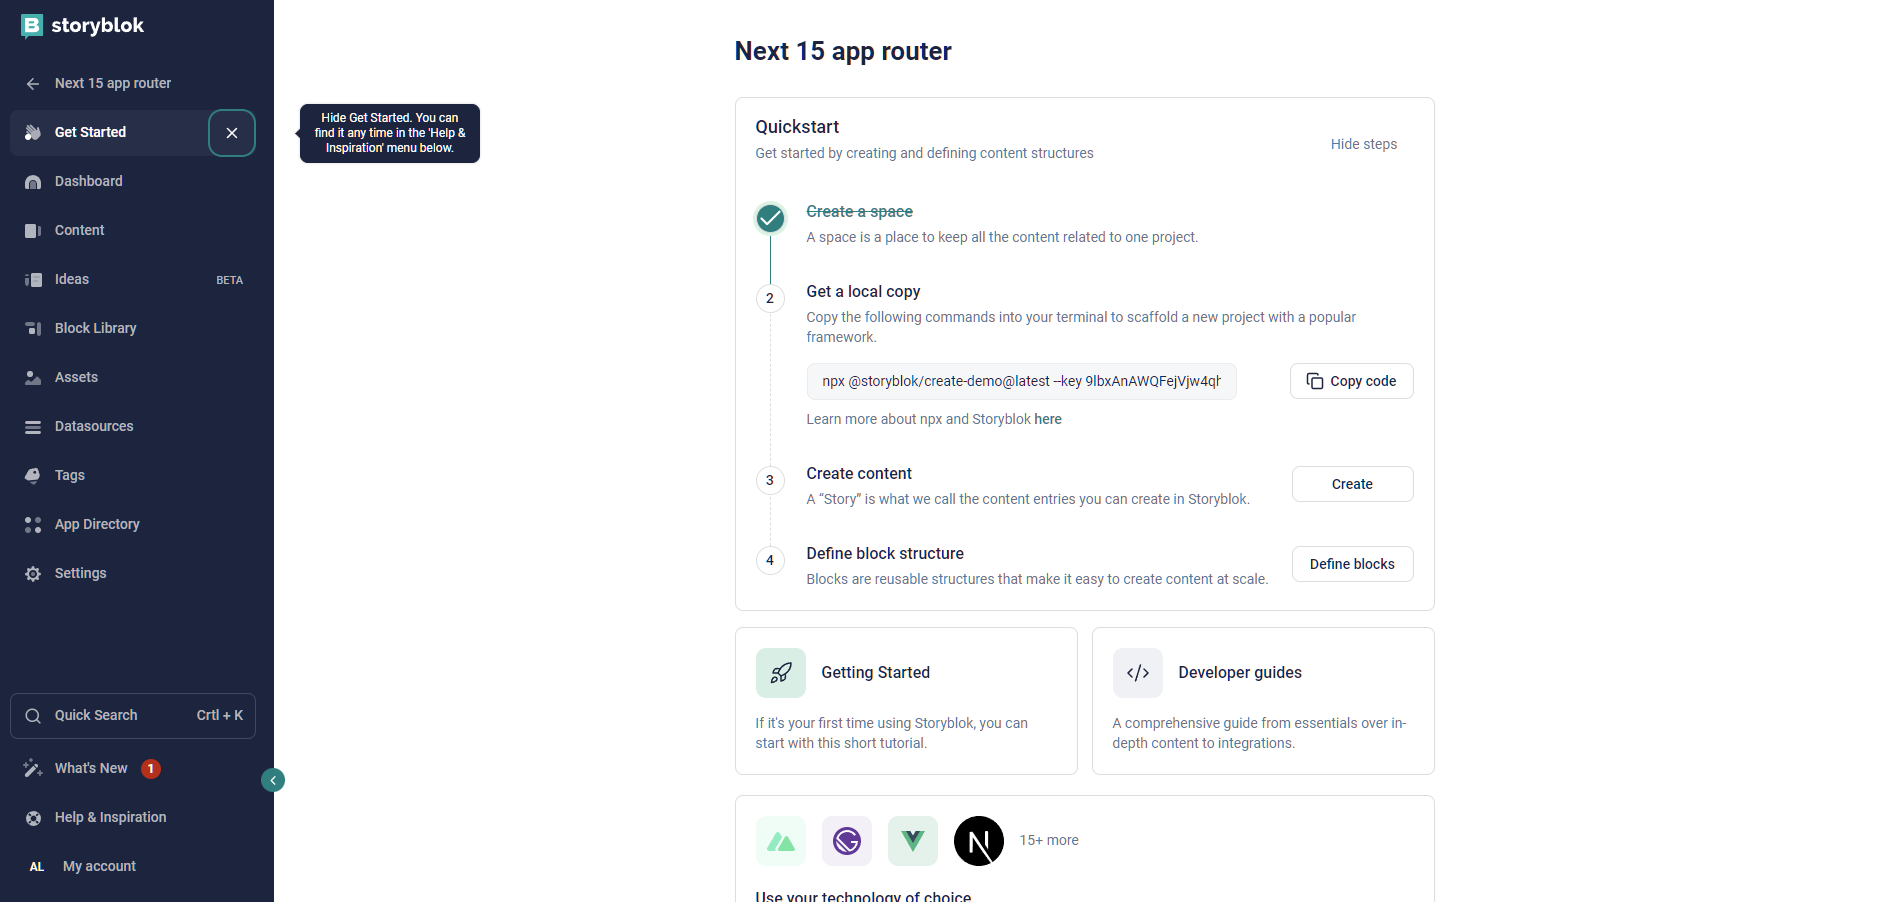
Once you have a space, you should see the next screen:
 storyblok start page
Click on that close button near Get Started because we all professionals here:). Then go to the the Content folder and then open the home page.
 storyblok default live editor
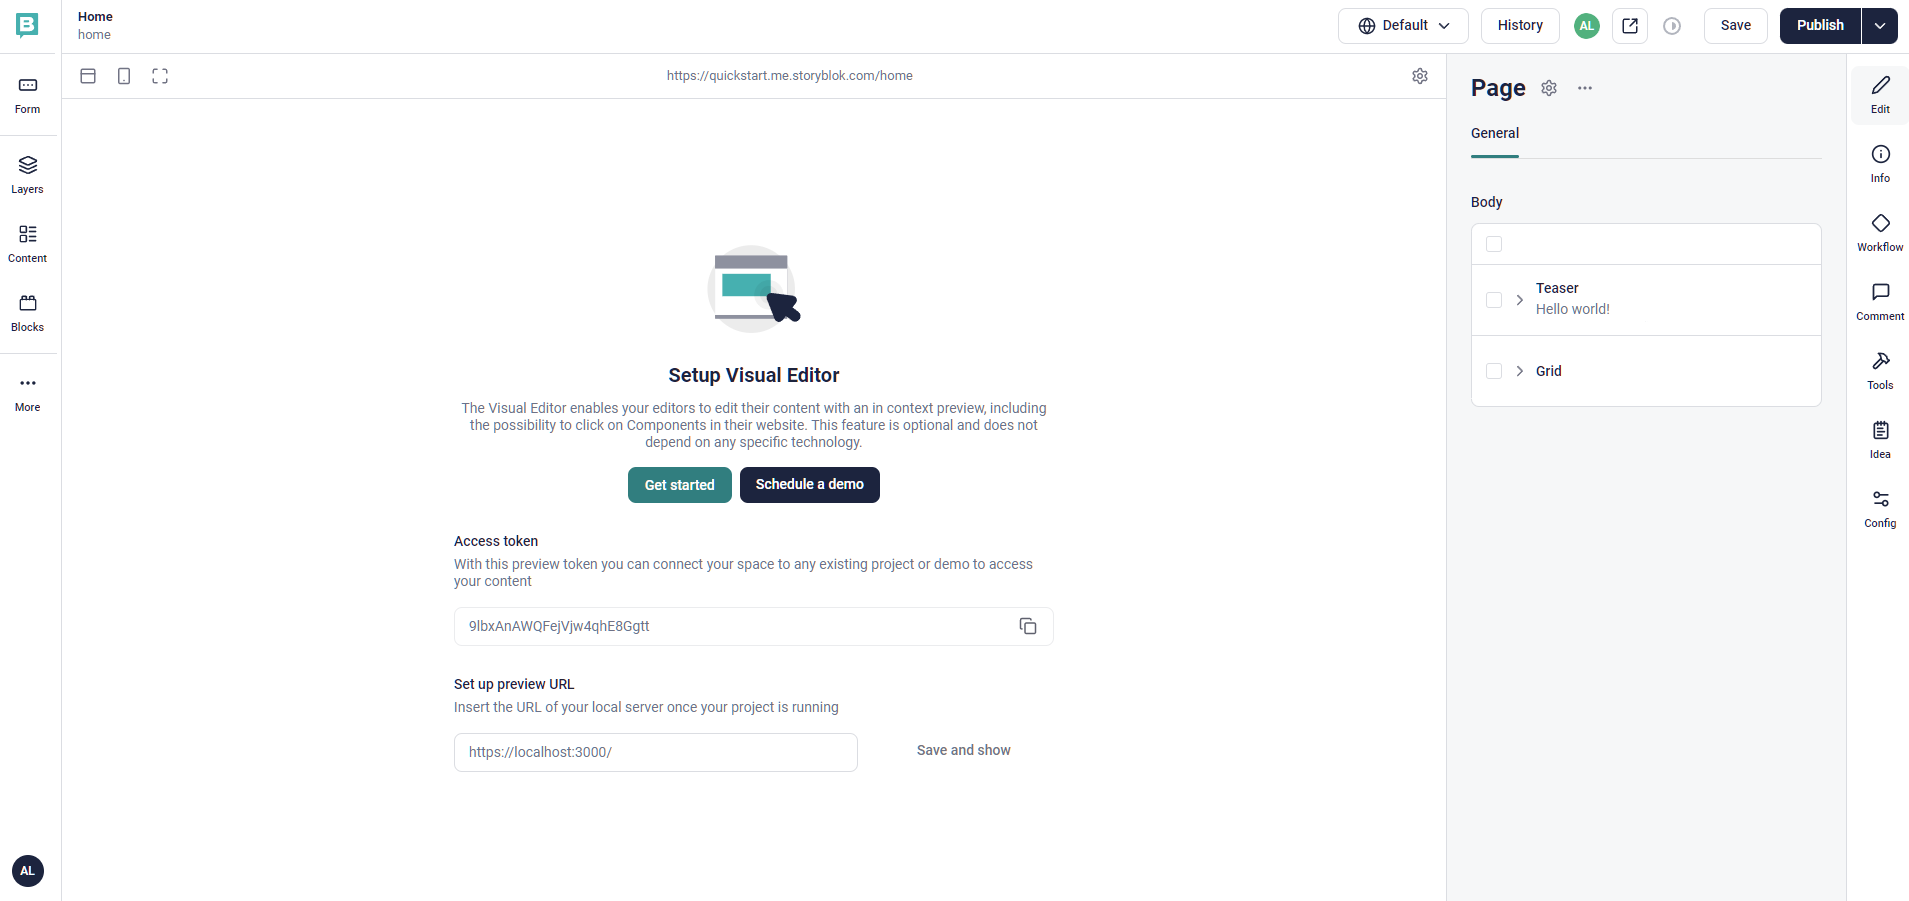
Okay, you should see the content editor. Delete the Grid section (so only the Teaser section remains). After that, save the changes.
Copy the access token, we will need it soon.
Setting Up Next.js 15 with app router
Create new Next.js project
npx create-next-app@latest
Add Storyblok React SDK
yarn add @storyblok/react
Create .env.local with the following content:
NEXT_PUBLIC_STORYBLOK_TOKEN=your_access_token
Replace your_access_token with the access token you copied from Storyblok.
Okay, now let’s move to the most interesting part, connecting Storyblok to Next.js 15. We won’t go through everything, but we will focus on the main parts, as there are already enough of them. Let’s go!
Basic components
We need to create 2 components, one to serve pages and the other to serve the Teaser section. Create a components folder in the root of the project and add 2 files:
- Page.tsx
import {
  SbBlokData,
  storyblokEditable,
  StoryblokServerComponent,
} from "@storyblok/react/rsc";
import React from "react";

interface SbPageData extends SbBlokData {
  body: SbBlokData[];
}

interface PageProps {
  blok: SbPageData;
}

const Page: React.FunctionComponent<PageProps> = ({ blok }) => {
  return (
    <main {...storyblokEditable(blok)}>
      {blok.body.map((nestedBlok) => (
        <StoryblokServerComponent blok={nestedBlok} key={nestedBlok._uid} />
      ))}
    </main>
  );
};

export default Page;
- Teaser.js
import { SbBlokData, storyblokEditable } from "@storyblok/react/rsc";
import Link from "next/link";
import React from "react";

interface SbTeaserData extends SbBlokData {
  headline: string;
}

interface TeaserProps {
  blok: SbTeaserData;
}

const Teaser: React.FunctionComponent<TeaserProps> = ({ blok }) => {
  return (
    <section
      {...storyblokEditable(blok)}
      className="flex justify-center items-center min-h-screen"
    >
      <div className="relative isolate px-6 pt-14 lg:px-8">
        <div className="mx-auto max-w-2xl py-32 sm:py-48 lg:py-56">
          <div className="text-center">
            <h1 className="text-balance text-5xl font-semibold tracking-tight sm:text-7xl">
              {blok.headline}
            </h1>
            <h2 className="fixed right-4 bottom-2 text-2xl sm:text-4xl">
              <span className="text-xl sm:text-2xl">by </span>
              <Link href="https://focusreactive.com" className="underline">
                FocusReactive
              </Link>
            </h2>
          </div>
        </div>
      </div>
    </section>
  );
};

export default Teaser;
The next step is to create a connection to Storyblok. create lib folder in the root of the project and add a file storyblok.ts with the following content:
import { storyblokInit } from "@storyblok/react/rsc";

import Page from "@/components/Page";
import Teaser from "@/components/Teaser";

export const getStoryblokApi = storyblokInit({
  accessToken: process.env.NEXT_PUBLIC_STORYBLOK_TOKEN,
  components: {
    page: Page,
    teaser: Teaser,
  },
});
Final step here will be to create a Probider component, so we can use the Storyblok components in our app. Create a file StoryblokProvider.tsx in the components folder with the following content:
"use client";

import { getStoryblokApi } from "@/lib/storyblok";

export default function StoryblokProvider({
  children,
}: {
  children: React.ReactNode;
}) {
  getStoryblokApi();
  return children;
}
Fetching data
We need to create a function to fetch data from Storyblok. Create a file fetchStory.ts in the utils folder with the following content:
import { ISbResponse } from "@storyblok/react/rsc";
import { getStoryblokApi } from "@/lib/storyblok";

export const fetchStory = async (
  version: "draft" | "published",
  slug?: string[]
) => {
  getStoryblokApi();
  const correctSlug = `/${slug ? slug.join("/") : "home"}`;

  return fetch(
    `
    https://api.storyblok.com/v2/cdn/stories${correctSlug}?version=${version}&token=${process.env.NEXT_PUBLIC_STORYBLOK_TOKEN}`,
    {
      next: { tags: ["cms"] },
      cache: version === "published" ? "default" : "no-store",
    }
  ).then((res) => res.json()) as Promise<{ story: ISbResponse }>;
};
This function will work both for draft and published versions of the content. Published content will be cached, while draft content will not.
Core components changes
So we connected our components. Now let’s finally use them. Go to the layout.tsx and let’s make some changes:
import type { Metadata } from "next";
import { Geist, Geist_Mono } from "next/font/google";
import "./globals.css";
import StoryblokProvider from "@/components/StoryblokProvider";

const geistSans = Geist({
  variable: "--font-geist-sans",
  subsets: ["latin"],
});

const geistMono = Geist_Mono({
  variable: "--font-geist-mono",
  subsets: ["latin"],
});

export const metadata: Metadata = {
  title: "Create Next App",
  description: "Generated by create next app",
};

export default function RootLayout({
  children,
}: Readonly<{
  children: React.ReactNode;
}>) {
  return (
    <html lang="en">
      <StoryblokProvider>
        <body
          className={`${geistSans.variable} ${geistMono.variable} antialiased`}
        >
          {children}
        </body>
      </StoryblokProvider>
    </html>
  );
}
P.S. The main difference from original version that we reused the StoryblokProvider component.
Then delete your page.tsx and instead create a [[...slug]] folder so we can catch all our content here. Inside the folder create a file page.tsx.
import { StoryblokStory } from "@storyblok/react/rsc";
import { fetchStory } from "@/utils/fetchStory";

export async function generateStaticParams() {
  return [];
}

type Params = Promise<{ slug?: string[] }>;

export default async function Home({ params }: { params: Params }) {
  const slug = (await params).slug;
  const pageData = await fetchStory("draft", slug);

  return <StoryblokStory story={pageData.story} />;
}
Local https
To enable live preview, we need to run our app on https. To do this, we’re going to use Next.js expiremental feature. Change the dev script in the package.json to:
"dev": "next dev --turbopack --experimental-https",
Run it !
All good, now we can run our app and see the result. Run it!
yarn dev
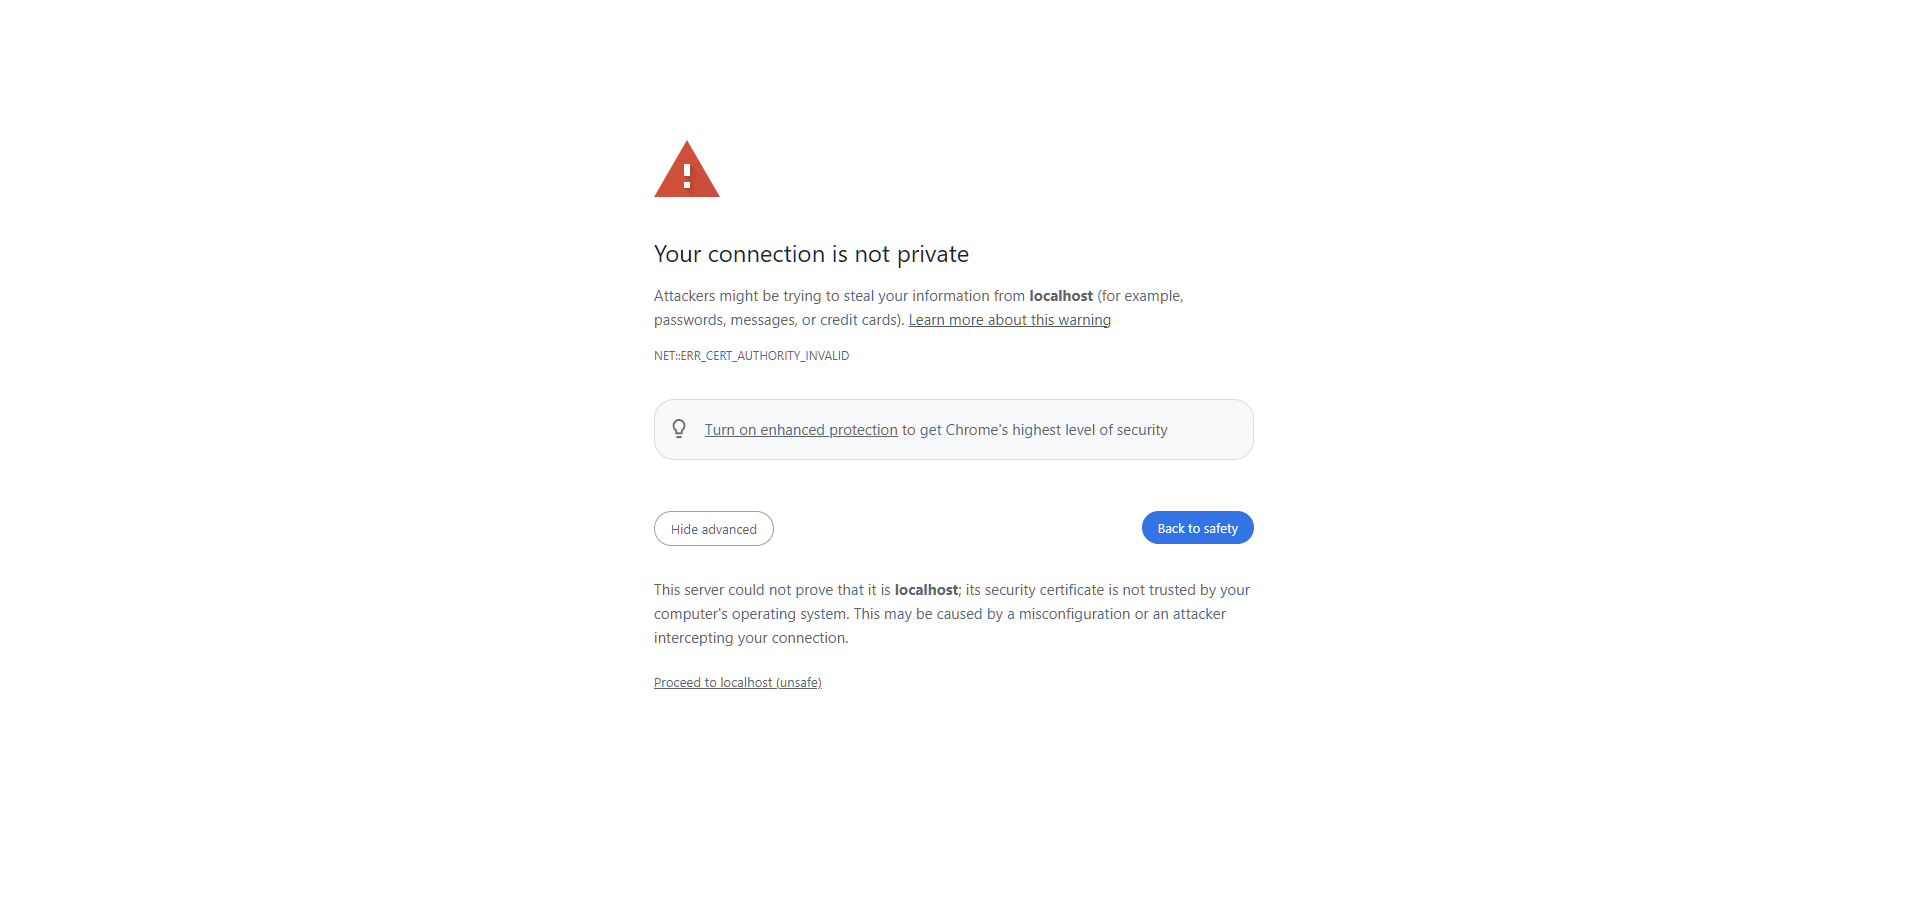
Open https://localhost:3000 in your browser. You will face a warning about the certificate, click on Advanced and then Proceed to localhost (unsafe).
 localhost https warning
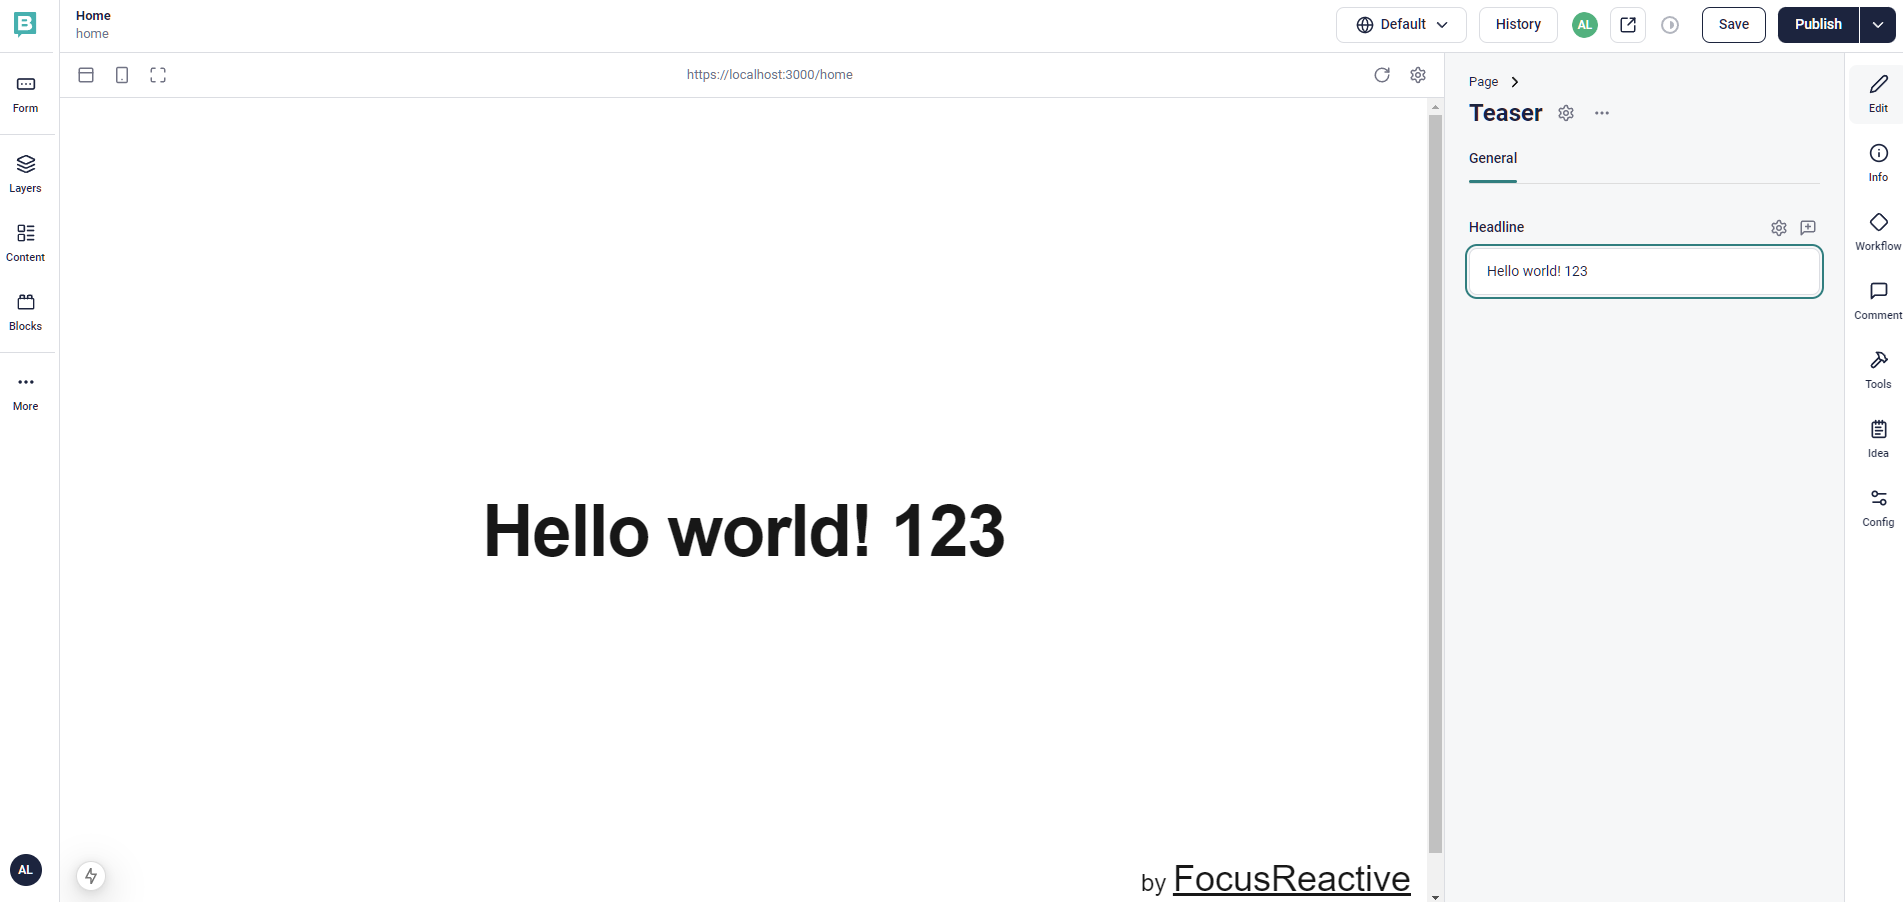
And here we go! You should see the Teaser section from Storyblok.
 localhost teaser section
Now go back to storyblok editor. Paste this URL https://localhost:3000/ as a preview URL and click on the save and show button.
Now you can edit the content in the Storyblok editor and see the changes in real-time.
 storyblok live editor
Ok. Now what? Live preview route and static generation
Currently we have a draft content on our home page. That is not going to work in production, because this page should be static. So what can we do ? Unfortunately, the only one way to make it work it to create additional route for live preview, so let’s do it.
First update your page.tsx file:
import { StoryblokStory } from "@storyblok/react/rsc";
import { fetchStory } from "@/utils/fetchStory";

export async function generateStaticParams() {
  return [];
}

type Params = Promise<{ slug?: string[] }>;

export default async function Home({ params }: { params: Params }) {
  const slug = (await params).slug;
  const pageData = await fetchStory("published", slug);

  return <StoryblokStory story={pageData.story} />;
}
P.S. the one change is that we fetch the published version of the content.
Then create a new folder live-preview inside the app folder.We need to recreate the same structure under it, so create a [[...slug]] folder and a page.tsx file inside it.
import { StoryblokStory } from "@storyblok/react/rsc";
import { fetchStory } from "@/utils/fetchStory";

type Params = Promise<{ slug?: string[] }>;

export default async function Home({ params }: { params: Params }) {
  const slug = (await params).slug;
  const pageData = await fetchStory("draft", slug);

  return <StoryblokStory story={pageData.story} />;
}
The difference here is that we don’t have generateStaticParams function and we fetch the draft version of the content. That will make this page dynamic, so we can work with the live preview in prod.
Now go to your Storyblok account and update the preview URL to https://localhost:3000/live-preview/.
That is it! Lets try to build this thing.
yarn build
As you can see, our production content is static, while the draft content is dynamic. And yes, that is a bit ugly, but that is the only way to make it work.
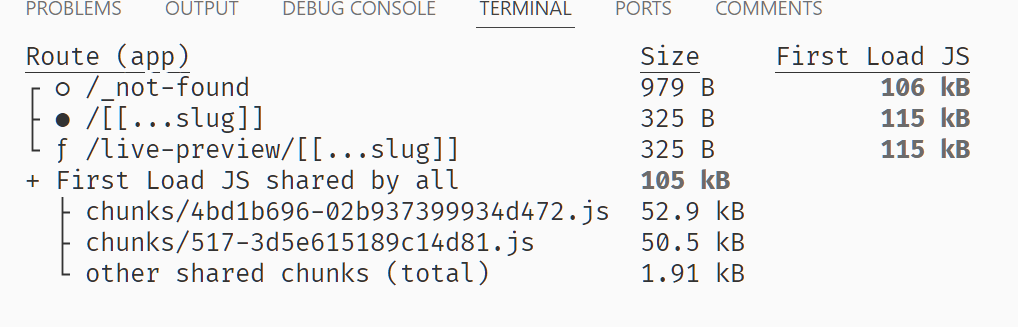 nextjs build output
Deploy to Vercel
Deploying to Vercel is super easy. The one thing you need to remember, that you actually need to have 2 projects to make it work.
The reason for that us that we don’t want to expose our preview token to the public.
So open your Storyblok account settings and create public token. Use it for your production project instance. Create one more project with the same token that you used locally, so it can work with draft content.
Final touch is to add new preview URL to your Storyblok account. Use the URL of your production project. Should be something like https://your-project-name.vercel.app/live-preview/.
Conclusion and repo
Hope you enjoyed this guide. If you have any questions, feel free to ask. And don’t forget to check out our CMS Kit. It will save you a lot of time and effort.
Here you will find the repo will all the code we created today: Storyblok with Next.js 15
We’re a specialist Storyblok agency helping teams transition to modern content platforms with clean architecture, scalability, and editorial control. If you’re planning a replatform or building from scratch, reach out to us — or book an intro call with our team.


